In this article, you’ll discover 10 wonderful DIY wood projects that you can create using old lumber. Whether it’s a worn-out wooden pallet or unused boards lying around in your garage, we’ll show you how to turn them into beautiful and functional pieces for your home. From rustic shelves and picture frames to stunning garden planters and even a stylish headboard, we’ve got you covered. Get ready to unleash your creativity and transform that old wood into something truly amazing!
Introduction
If you have old lumber laying around and are looking for ways to repurpose it, you’ve come to the right place. Upcycling old wood can not only help reduce waste but also provide you with unique and beautiful items for your home. In this article, we will explore ten different DIY wood projects that will allow you to unleash your creativity and transform that old lumber into something useful and stylish. So let’s dive in and discover the joy of upcycling!
1. Wine Rack
– Materials needed
To build a wine rack, you will need:
- Old lumber
- Measuring tape
- Saw
- Sandpaper
- Wood glue
- Screws or nails
- Drill or hammer
– Steps to build a wine rack
- Measure and cut the lumber into desired lengths for the wine rack’s sides, shelves, and crosspieces.
- Sand all the pieces to ensure a smooth finish.
- Assemble the sides by attaching the shelves using wood glue and screws or nails.
- Attach the crosspieces to provide stability and support to the wine rack.
- Optional: Stain or paint the wine rack to match your desired style.
– Tips for choosing the right lumber
When selecting lumber for a wine rack, it is crucial to choose pieces that are sturdy and have minimal warping. Hardwoods like oak or maple are often preferred for their durability. Additionally, consider the aesthetics and make sure the wood complements the surrounding decor.
2. Floating Shelves
– Tools required for building floating shelves
To construct floating shelves, gather the following tools:
- Old lumber
- Measuring tape
- Saw
- Wood glue
- L-brackets
- Drill
- Screws
– Steps to construct floating shelves
- Measure and cut the lumber into desired shelf lengths.
- Sand the pieces to remove any rough edges.
- Attach L-brackets to the wall using a drill and screws.
- Apply wood glue to the lumber and gently slide it onto the L-brackets.
- Optional: Stain or paint the shelves to match your decor.
– Different styles of floating shelves
Floating shelves can be designed in various ways to suit different styles and preferences. You can create rustic floating shelves by using weathered or reclaimed wood, or opt for sleek and modern floating shelves by using smooth and stained lumber. The possibilities are endless, and the choice is yours!
3. Garden Planter
– Selecting the appropriate lumber for a garden planter
When choosing wood for a garden planter, it is essential to select a type that is resistant to rot and insect damage, such as cedar or redwood. These woods are naturally durable and can withstand the outdoor elements, ensuring the longevity of your planter.
– Building steps for a sturdy garden planter
- Measure and cut the lumber into appropriate sizes for the planter’s sides, base, and optional legs.
- Assemble the sides of the planter by attaching them using wood glue and screws.
- Attach the base to the assembled sides to create the planter box.
- Optional: Add legs to elevate the planter off the ground for better drainage.
- Apply a waterproofing finish to protect the wood from moisture and prolong its lifespan.
– Optional features to add to your planter
To make your garden planter even more functional and visually appealing, consider adding features like trellises for climbing plants, a built-in irrigation system, or decorative accents. These additions can elevate the look and functionality of your planter while making it a centerpiece in your garden.
4. Outdoor Bench
– Tools and materials required for an outdoor bench
To construct an outdoor bench, gather the following tools and materials:
- Old lumber
- Measuring tape
- Saw
- Drill
- Screws
- Wood glue
– Instructions to assemble an outdoor bench
- Measure and cut the lumber into appropriate lengths for the bench’s sides, seat, and backrest.
- Assemble the sides of the bench by attaching them with screws and wood glue.
- Attach the seat and backrest to the assembled sides using screws and wood glue.
- Optional: Add armrests or cushions for added comfort and style.
– Finishing options for your bench
To protect the outdoor bench from the elements, it is recommended to apply a weatherproof finish. This can be a waterproof sealant, outdoor paint, or wood stain. Choose a finish that suits your preferred aesthetic and provides adequate protection against rain, sun, and other outdoor elements.
5. Wall Art
– Different types of wood for creating wall art
When it comes to creating wood wall art, you have a wide range of options to choose from. Some common and visually appealing types of wood include walnut, cherry, oak, and maple. These woods offer beautiful grains and are well-suited for carving, staining, and painting.
– Techniques for designing and carving wood art
Designing and carving wood art requires creativity and patience. You can start by sketching your design on paper, then transfer it onto the wood using transfer paper or tracing. Next, use carving tools like chisels and gouges to shape and carve the wood according to your design. Finally, sand and apply a finish to bring out the natural beauty of the wood.
– Tips for hanging and displaying your artwork
When hanging wood art, it is crucial to choose the right hardware. D-rings or sawtooth hangers are commonly used for secure and reliable hanging. Additionally, consider the placement and lighting of your artwork to showcase it in the best possible way. Experiment with different arrangements and lighting options to enhance the visual impact of your wood art.
6. Coffee Table
– Planning and measuring for a coffee table
Before starting the construction of a coffee table, it is important to plan and measure the space where the table will be placed. Consider the desired height, width, and length of the table, ensuring it complements the surrounding furniture and decor. Take accurate measurements to guide you during the construction process.
– Steps to construct a sturdy and stylish coffee table
- Measure and cut the lumber into appropriate lengths for the table’s legs, frame, and top.
- Assemble the legs and frame by attaching them using screws or wood glue.
- Attach the tabletop to the assembled legs and frame, ensuring it is level and secure.
- Optional: Add additional features like a lower shelf or drawer for storage.
- Sand and finish the coffee table to achieve the desired look and smoothness.
– Ideas for staining and finishing your table
Staining and finishing your coffee table can enhance its appearance and protect the wood from damage. Consider using a wood stain to bring out the natural color and grain of the lumber. Once stained, apply a clear topcoat or sealant to add durability and a glossy or matte finish, depending on your preference.
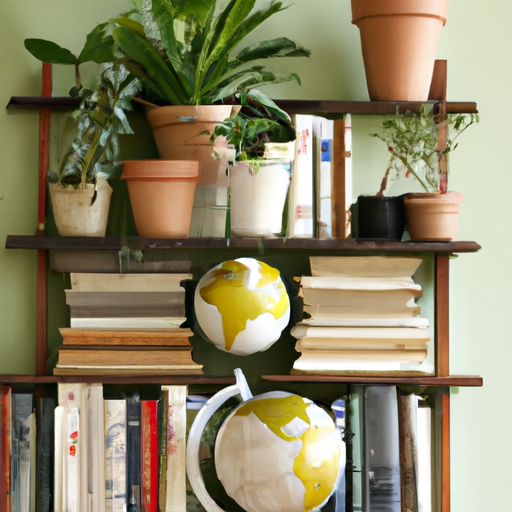
7. Bookshelf
– Design considerations for building a bookshelf
When designing a bookshelf, consider factors such as the available space, the number of books it needs to hold, and your preferred aesthetic. Decide whether you want an open or closed-back design, adjustable shelves, or any additional features like drawers or cabinets. These considerations will guide you in creating a functional and visually pleasing bookshelf.
– Building process and assembly instructions for a bookshelf
- Measure and cut the lumber into appropriate lengths for the bookshelf’s sides, shelves, and optional backboard.
- Assemble the sides by attaching the shelves using screws or wood glue.
- Optional: Attach a backboard to provide stability and a finished look.
- Sand and finish the bookshelf to achieve a smooth surface and protect the wood.
– Customization options for your bookshelf
One advantage of building your own bookshelf is the ability to customize it according to your needs. You can adjust the shelf heights to accommodate different book sizes or add decorative elements like molding or trim. Personalize your bookshelf to reflect your style and make it a special addition to your home.
8. Plant Stand
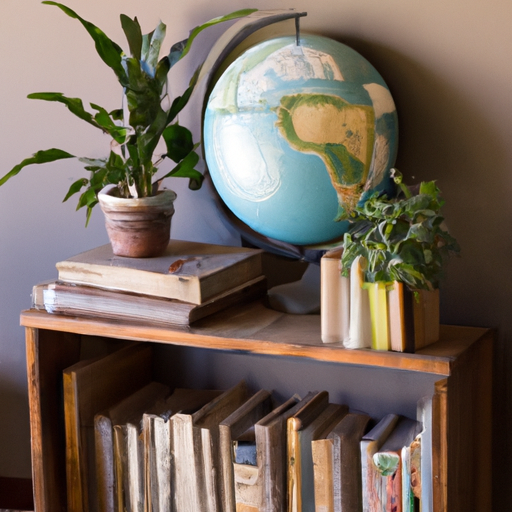
– Factors to consider when choosing wood for a plant stand
When building a plant stand, it is important to choose a type of wood that can withstand moisture and maintain its structural integrity. Cedar or teak are popular choices for their natural resistance to rot and decay. Additionally, consider the weight of the plants you intend to place on the stand and choose wood that can support the load.
– Construction steps for a modern and practical plant stand
- Measure and cut the lumber into appropriate lengths for the stand’s legs, supports, and base.
- Assemble the legs and supports using screws or wood glue.
- Attach the base to the assembled legs and supports, ensuring stability.
- Optional: Add additional shelves or tiers for a multi-level plant stand.
- Apply a waterproof finish to protect the wood from moisture and extend its lifespan.
– Tips for maintaining and protecting your plant stand
To ensure the longevity of your plant stand, regularly check for any signs of wood rot or insect damage. If necessary, treat the wood with a preservative or sealer to protect it from moisture and pests. Additionally, consider placing a tray or saucer under each potted plant to prevent water damage to the wood.
9. Jewelry Organizer
– Materials needed for a DIY jewelry organizer
To create a functional and decorative jewelry organizer, gather the following materials:
- Old lumber
- Measuring tape
- Saw
- Sandpaper
- Hooks or knobs
- Wood glue
- Screws
– Instructions to build a functional and decorative organizer
- Measure and cut the lumber into desired lengths for the organizer’s backboard and shelves.
- Sand all the pieces to ensure a smooth finish.
- Attach the shelves to the backboard using wood glue and screws.
- Optional: Add hooks or knobs to hang necklaces, bracelets, or earrings.
- Optional: Paint or stain the organizer to match your decor and style.
– Ideas for organizing different types of jewelry
When organizing jewelry, consider the various types and sizes of jewelry you own. Use hooks or knobs to hang necklaces and bracelets, and add small compartments or trays for rings and earrings. Customize your organizer to suit your collection and make it easy to find and access your favorite pieces.
Conclusion
In conclusion, upcycling old lumber can be a rewarding and environmentally friendly way to create beautiful and functional items for your home. The ten DIY wood projects we have explored in this article offer a starting point for unleashing your creativity and transforming that old wood into something impressive. Remember to consider the materials, tools, and steps involved in each project, as well as your personal preferences and style. So go ahead, dust off that old lumber, and embark on a journey of craftsmanship and creativity. The possibilities are endless, and the satisfaction of repurposing old wood is truly rewarding. Happy upcycling!
