In this article, we’ll guide you through the process of building your very first woodworking workbench. Whether you’re a beginner or have some experience, we’ll provide you with a step-by-step tutorial to help you create a functional and sturdy workbench. From gathering the necessary materials to assembling and finishing the workbench, we’ll cover all the important details. By the end of this article, you’ll have the knowledge and confidence to embark on your woodworking journey and create a workbench that suits your needs.
Gathering Materials and Tools
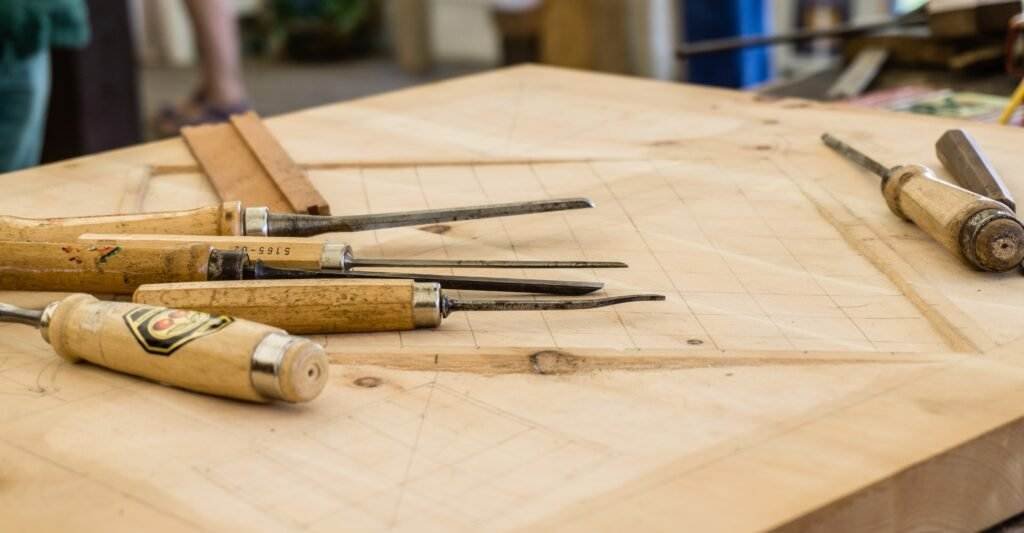
To start building your first woodworking workbench, you will need to gather the necessary materials and tools. This includes determining the size and dimensions of your workbench, choosing the right type of wood, and gathering the necessary tools and equipment.
Determining the size and dimensions of your workbench
Before you begin, it’s important to determine the size and dimensions of your workbench. Consider the space you have available in your workshop or garage, as well as the types of projects you plan to work on. A standard workbench is typically around 36 inches tall, 24 inches wide, and 72 inches long, but you can adjust these dimensions to fit your needs.
Choosing the right type of wood for your workbench
Next, you’ll need to choose the right type of wood for your workbench. Hardwoods like oak, birch, or maple are popular choices due to their strength and durability. However, if cost is a concern, you can also consider using softwoods like pine or fir. Just make sure to select wood with minimal knots and defects for a more stable and aesthetically pleasing workbench.
Gathering necessary tools and equipment
Once you have determined the size and type of wood for your workbench, it’s time to gather the necessary tools and equipment. Here are some essential tools you will need:
- Circular saw or table saw for cutting the wood
- Miter saw for making angled cuts
- Drill/driver for attaching screws or dowels
- Router for finishing the edges
- Sander for smoothing the wood surfaces
- Clamps for holding pieces together during assembly
- Measuring tape, level, and square for accurate measurements and alignments
- Safety equipment such as safety glasses and ear protection
Make sure to have all these tools and equipment ready before you start building your workbench.
Preparing the Wood
With your materials and tools ready, it’s time to prepare the wood for your workbench. This involves measuring and marking the wood pieces, cutting and shaping them to the desired dimensions, and sanding and smoothing the wood surfaces.
Measuring and marking the wood pieces
Start by measuring and marking the wood pieces according to the dimensions you determined earlier. Use a measuring tape and a pencil to make accurate measurements and mark the cut lines on the wood. Double-check the measurements to ensure accuracy before proceeding to the next step.
Cutting and shaping the wood to the desired dimensions
Using a circular saw or table saw, carefully cut the wood pieces along the marked cut lines. Take your time and make precise cuts to ensure the pieces fit together properly. If you need to make angled cuts, use a miter saw and adjust the cutting angle accordingly. Once all the pieces are cut, use a sander to smooth any rough edges or surfaces.
Sanding and smoothing the wood surfaces
After cutting the wood pieces, it’s important to sand and smooth the surfaces for a finished look. Start with a coarse grit sandpaper to remove any rough spots or imperfections. Gradually switch to finer grit sandpaper to achieve a smooth and even surface. Be sure to sand both the visible and hidden surfaces of the wood pieces.
Assembling the Base
With the wood prepared, it’s time to assemble the base of your workbench. This involves constructing the legs and side panels, attaching them to create the base frame, and securing the base frame with screws or dowels.
Constructing the legs and side panels
Start by assembling the legs of the workbench. Cut the wood pieces to the desired length for the legs and shape them according to your preference. Attach the legs to the side panels using screws or dowels, making sure they are secure and properly aligned. Double-check the measurements and alignments to ensure the stability of the base.
Attaching the legs and side panels to create the base frame
Once the legs and side panels are assembled, it’s time to attach them together to create the base frame of the workbench. Use screws or dowels to secure the joints, making sure they are tight and stable. It’s important to check for any wobbliness or instability at this stage and make necessary adjustments to ensure a sturdy base.
Securing the base frame with screws or dowels
To further reinforce the base frame, secure it with additional screws or dowels. This will add extra stability and ensure that the base frame can withstand the weight and pressure applied during woodworking projects. Make sure to space out the screws or dowels evenly along the joints for optimum support.
Building the Work Surface
With the base frame assembled and secured, it’s time to build the work surface of your workbench. This involves creating the top surface by attaching the wooden planks, using reinforcement boards or battens for added stability, and routing or sanding the edges for a finished look.
Creating the top surface by attaching the wooden planks
Start by arranging the wooden planks on top of the base frame to create the desired size and shape for your work surface. Attach the planks to the base frame using screws or dowels, making sure they are evenly spaced and tight. Be sure to countersink the screws to avoid any interference when working on the surface.
Using reinforcement boards or battens for added stability
To further enhance the stability and strength of the work surface, consider adding reinforcement boards or battens underneath the wooden planks. These additional supports will prevent the surface from sagging or warping over time, especially when heavy workpieces are placed on top. Attach the reinforcement boards or battens using screws or dowels.
Routing or sanding the edges for a finished look
To give your workbench a professional and finished look, use a router or sander to shape and smooth the edges of the work surface. Round over the sharp corners or create decorative profiles to your liking. This not only enhances the appearance of the workbench but also reduces the risk of accidental injuries from sharp edges.

Adding Storage and Functionality
To make your workbench more functional and organized, consider adding storage options and accessories. This includes installing a lower shelf or drawers for storage, attaching a vice or clamps for holding workpieces, and adding holes or slots for holding tools and accessories.
Installing a lower shelf or drawers for storage
If you have extra space underneath the workbench, consider installing a lower shelf or drawers for storing tools, materials, or projects in progress. This will keep your workspace neat and organized, allowing for easy access to essential items while working. Measure and cut the wood pieces for the shelf or drawers, and attach them to the base frame securely.
Attaching a vice or clamps for holding workpieces
To hold workpieces securely in place during woodworking projects, consider attaching a vice or clamps to your workbench. A vice provides a stable grip and allows for easy maneuvering and shaping of workpieces. Install the vice or clamps according to the manufacturer’s instructions, making sure they are properly aligned and tightened.
Adding holes or slots for holding tools and accessories
To keep your tools and accessories within reach while working, consider adding holes or slots to your workbench for easy storage. These can be used to hold screwdrivers, chisels, or other frequently used tools. Measure and mark the locations for the holes or slots, and use a drill or router to create them.
Finishing Touches
With the construction of your workbench complete, it’s time to add the finishing touches. This includes filling any gaps or imperfections with wood filler, applying a coat of stain or paint to enhance the appearance, and applying a protective finish such as polyurethane or wax.
Filling any gaps or imperfections with wood filler
Inspect your workbench for any gaps, holes, or imperfections that may have occurred during the construction process. Use wood filler to fill these gaps and smooth the surface. Allow the wood filler to dry completely before proceeding to the next step.
Applying a coat of stain or paint to enhance the appearance
To enhance the beauty of your workbench, consider applying a coat of stain or paint. This not only adds color but also provides protection against moisture and wear. Choose a stain or paint that is compatible with your wood type, and apply it evenly using a brush or sponge. Allow the stain or paint to dry according to the manufacturer’s instructions.
Applying a protective finish such as polyurethane or wax
To further protect your workbench and give it a smooth finish, apply a protective finish such as polyurethane or wax. This will add a layer of durability and make the surface easier to clean. Follow the manufacturer’s instructions for applying the finish, and allow it to dry completely before using the workbench.
Testing and Adjusting
Once you have completed the construction and finishing of your workbench, it’s important to test its stability and adjust any necessary reinforcements. This ensures that your workbench can withstand the weight and pressure applied during woodworking projects.
Checking the stability and levelness of the workbench
Check the stability and levelness of your workbench by applying gentle pressure and ensuring it doesn’t wobble or tip. Use a level to check that the workbench is horizontal in all directions. If you notice any instability or unevenness, make the necessary adjustments to reinforce the base or level the surface.
Making any necessary adjustments or reinforcements
If you find any areas of concern during the stability check, such as loose joints or uneven surfaces, make the necessary adjustments or reinforcements. Tighten any loose screws or dowels, add additional support in weak areas, or sand down any high spots. It’s important to address these issues before moving forward with your woodworking projects.
Testing the workbench’s strength and functionality
Before fully utilizing your workbench, test its strength and functionality by placing heavy objects or workpieces on top. Apply pressure and perform various woodworking tasks to ensure that the workbench can withstand the demands of your projects. If you encounter any issues, make the necessary adjustments or reinforcements until the workbench meets your expectations.
Organizing Your Workspace
In addition to building your workbench, it’s important to organize your workspace for maximum efficiency and productivity. This includes arranging your tools and materials in an efficient manner, creating a designated work area with proper lighting, and implementing storage solutions for easy access and organization.
Arranging your tools and materials in an efficient manner
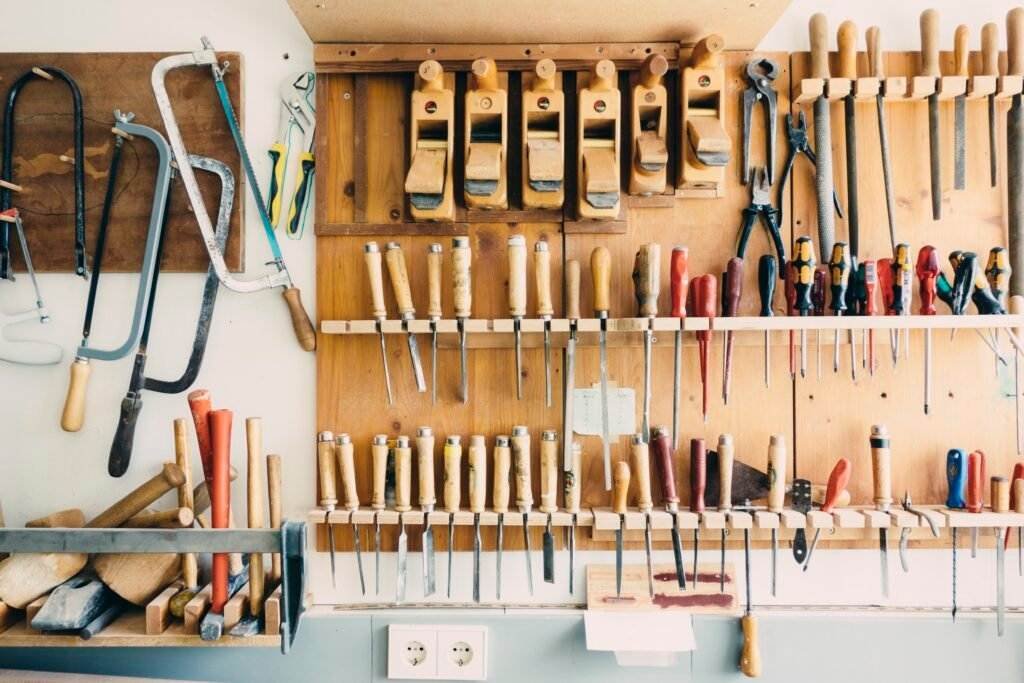
Take the time to arrange your tools and materials in a way that makes them easily accessible while working. Consider installing a pegboard or tool rack to hang your hand tools, and use storage bins or shelves to keep smaller items organized. Group similar tools and materials together for quick and easy retrieval when needed.
Creating a designated work area with proper lighting
Designate a specific area in your workshop or garage as your workbench area. This allows you to focus on your woodworking tasks and minimizes distractions. Ensure that the area is well-lit with proper lighting, either from natural light or artificial lighting sources. Adequate lighting is essential for precision work and helps prevent eye strain and accidents.
Implementing storage solutions for easy access and organization
To keep your workspace clean and organized, implement storage solutions that fit your needs. This could include additional shelves, cabinets, or toolboxes for storing larger tools or materials. Use labels or color coding to easily identify the contents of each storage area. Regularly clean and declutter your workspace to maintain a productive and safe environment.
Tips and Tricks
Here are some helpful tips and tricks to consider while building your first woodworking workbench:
Using clamps or weights to hold pieces together during assembly
To ensure precise and secure joints during assembly, use clamps or weights to hold pieces together until the glue or screws dry. This prevents shifting or misalignment while the workbench is taking shape. Apply even pressure with the clamps or weights to ensure a strong bond.
Making use of jigs and templates for accurate cuts
When making repetitive cuts or complex shapes, consider using jigs and templates. These handy tools help you achieve accurate and consistent results, saving time and effort. Jigs can be made from scrap wood or purchased commercially, depending on your project’s needs.
Double-checking measurements and dimensions before cutting
Measure twice, cut once! Taking the time to double-check your measurements and dimensions before making any cuts will save you from costly mistakes. Remember the old saying “measure twice, cut once” to ensure accurate and precise cuts for your workbench.
Conclusion
Congratulations on successfully building your first woodworking workbench! By following this step-by-step tutorial, you have created a sturdy and functional workspace to embark on your woodworking journey. Remember to take your time during each step, ensuring accurate measurements and secure joints. A well-designed workbench is a valuable asset for any woodworker, providing stability, organization, and functionality. Enjoy your new workbench and have fun exploring the world of woodworking!


